

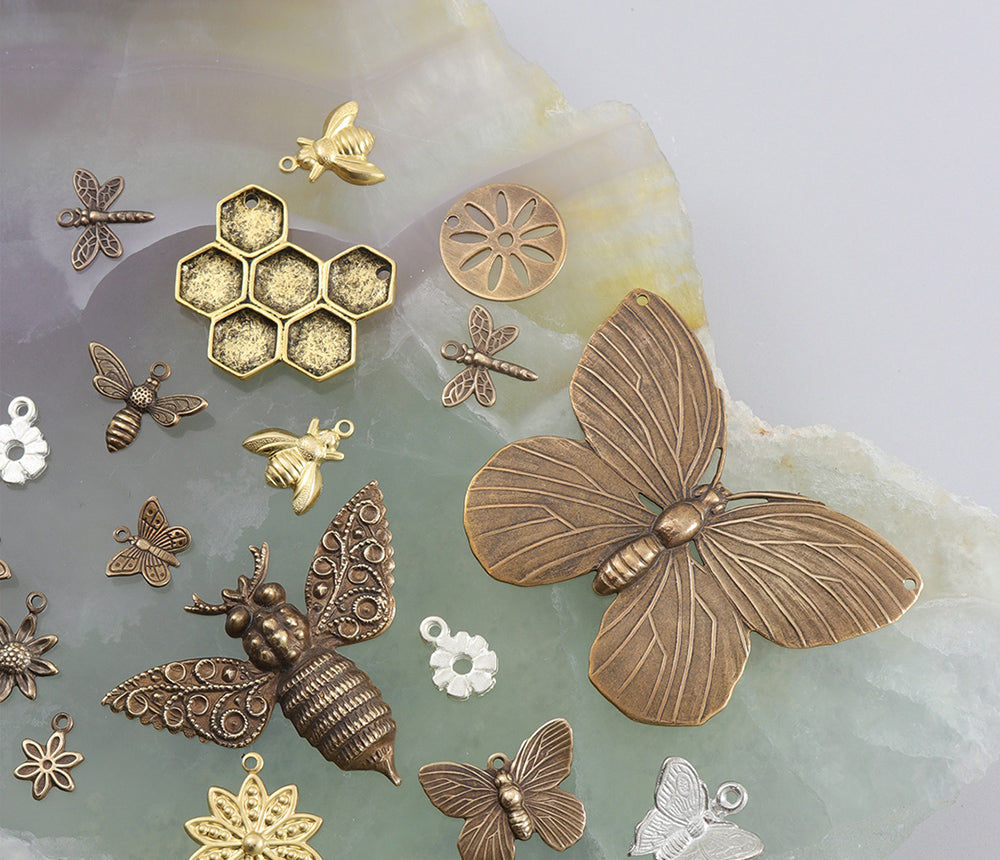
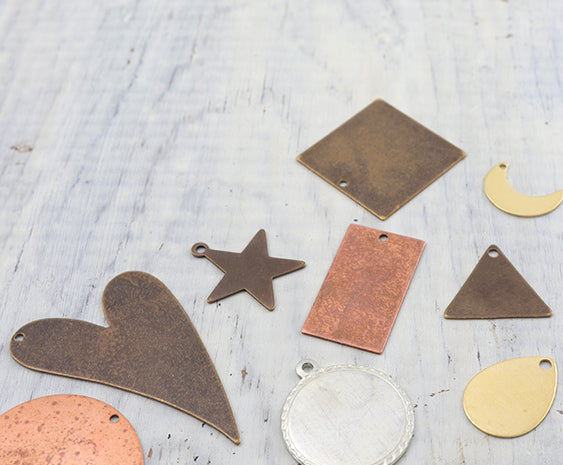


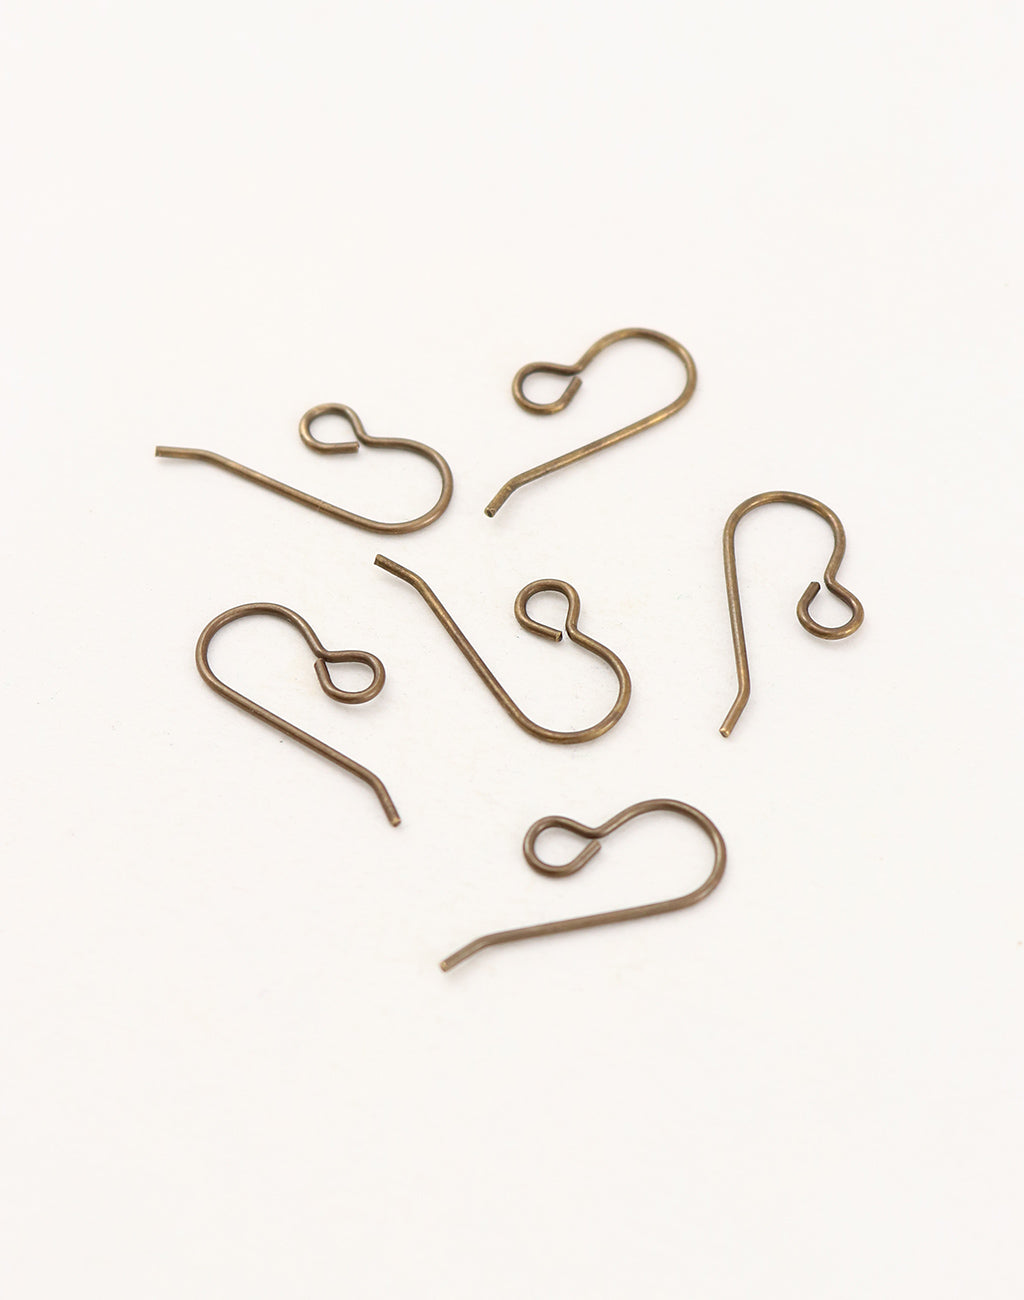


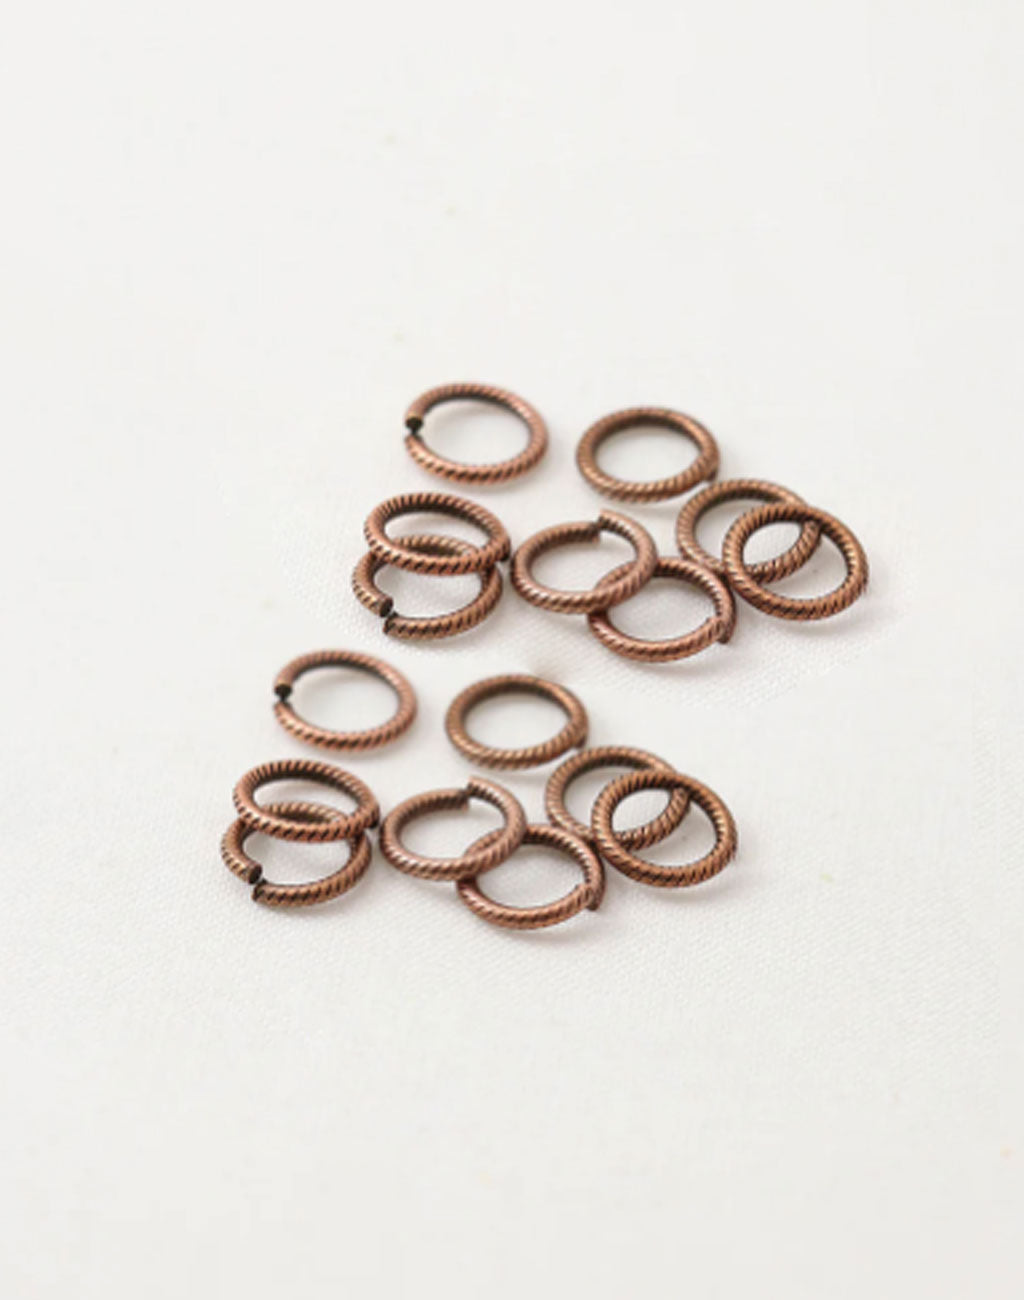
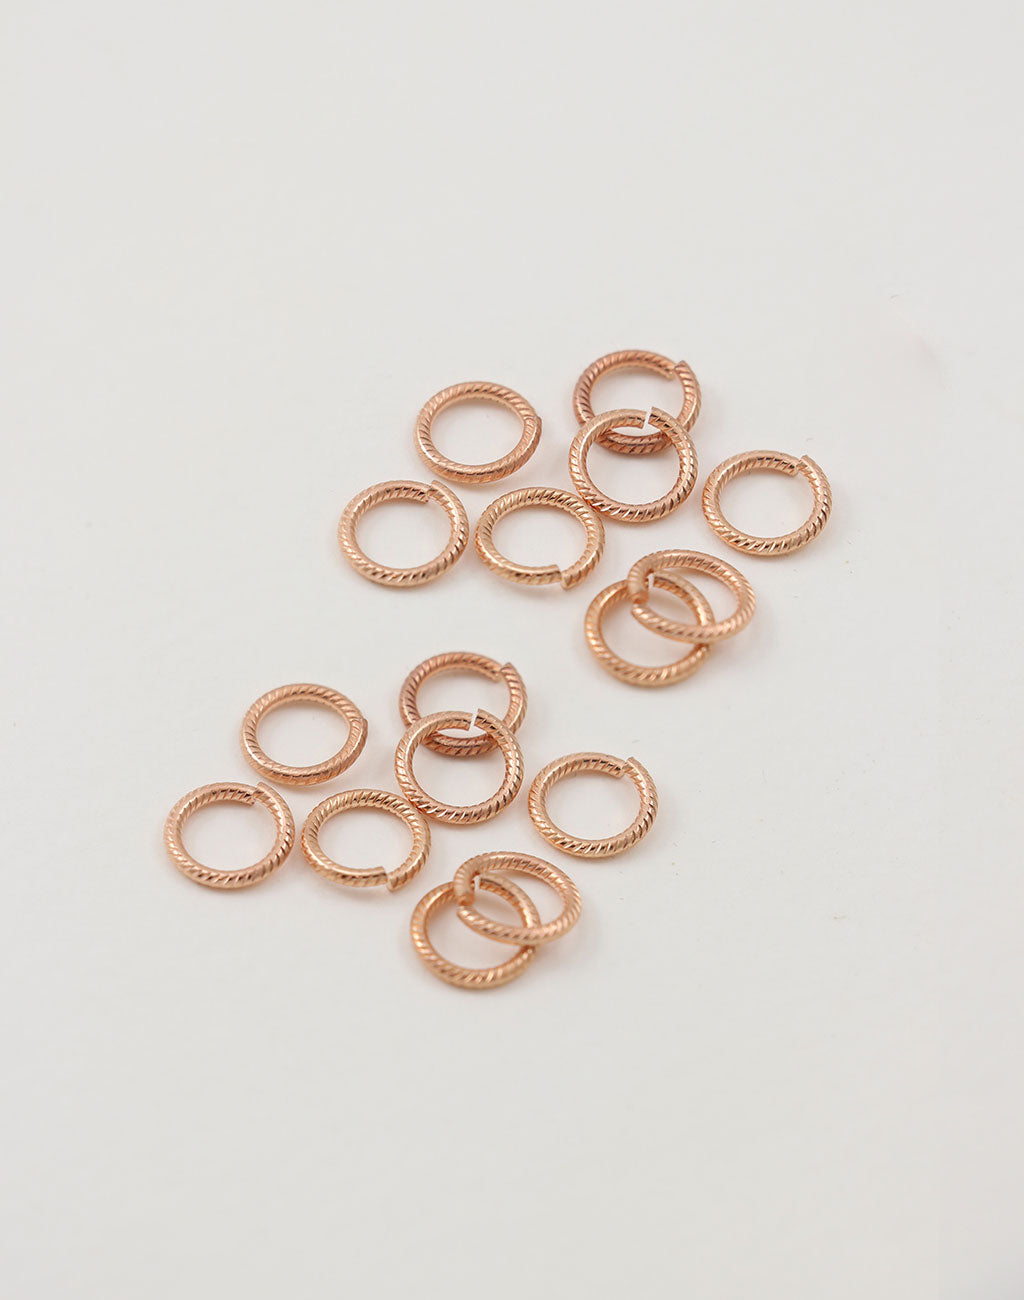

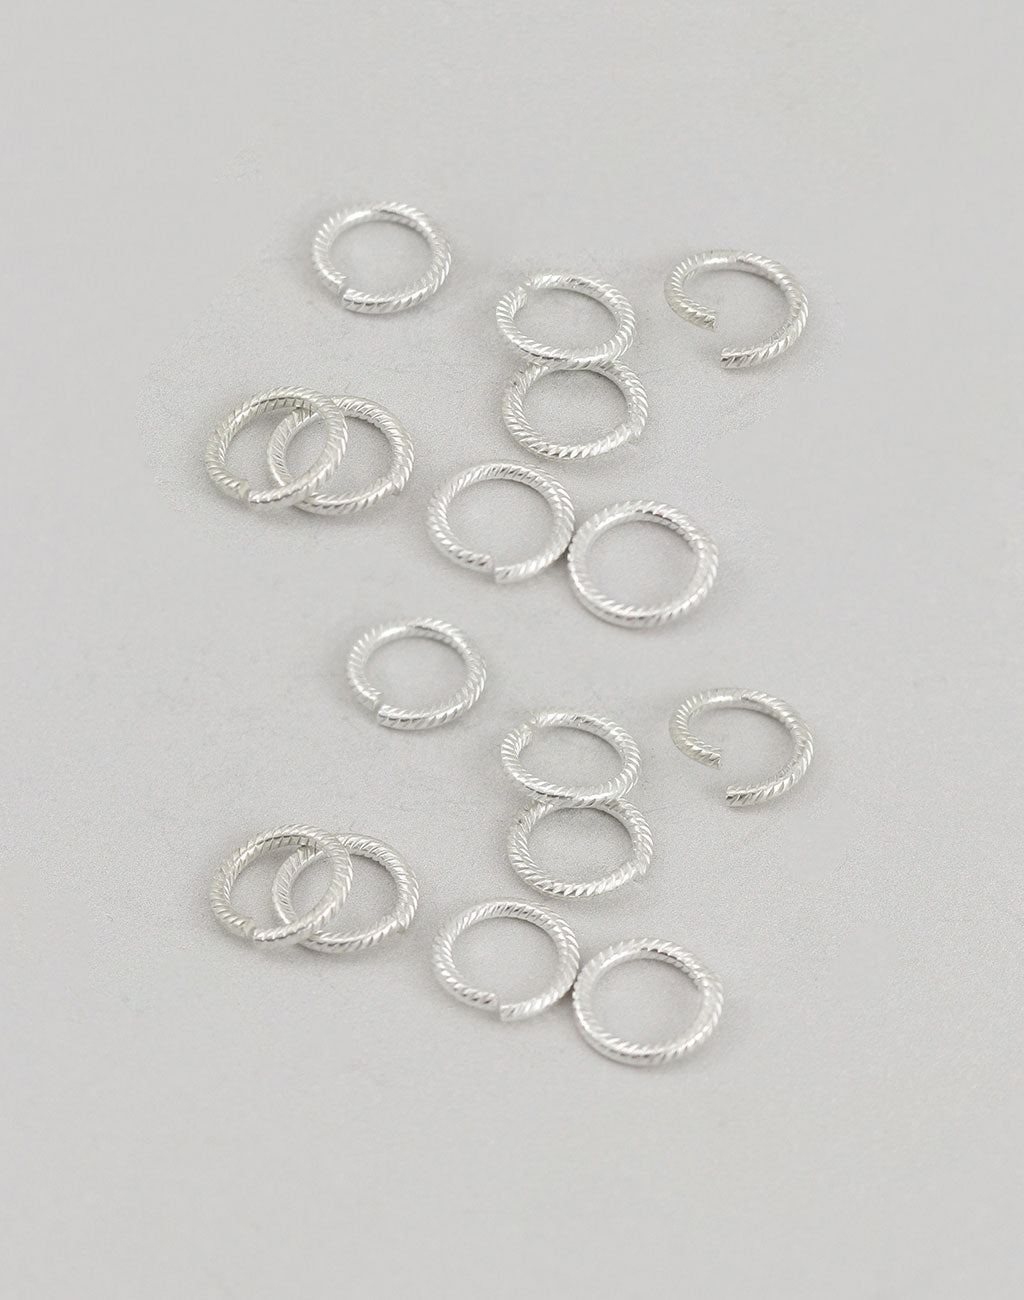
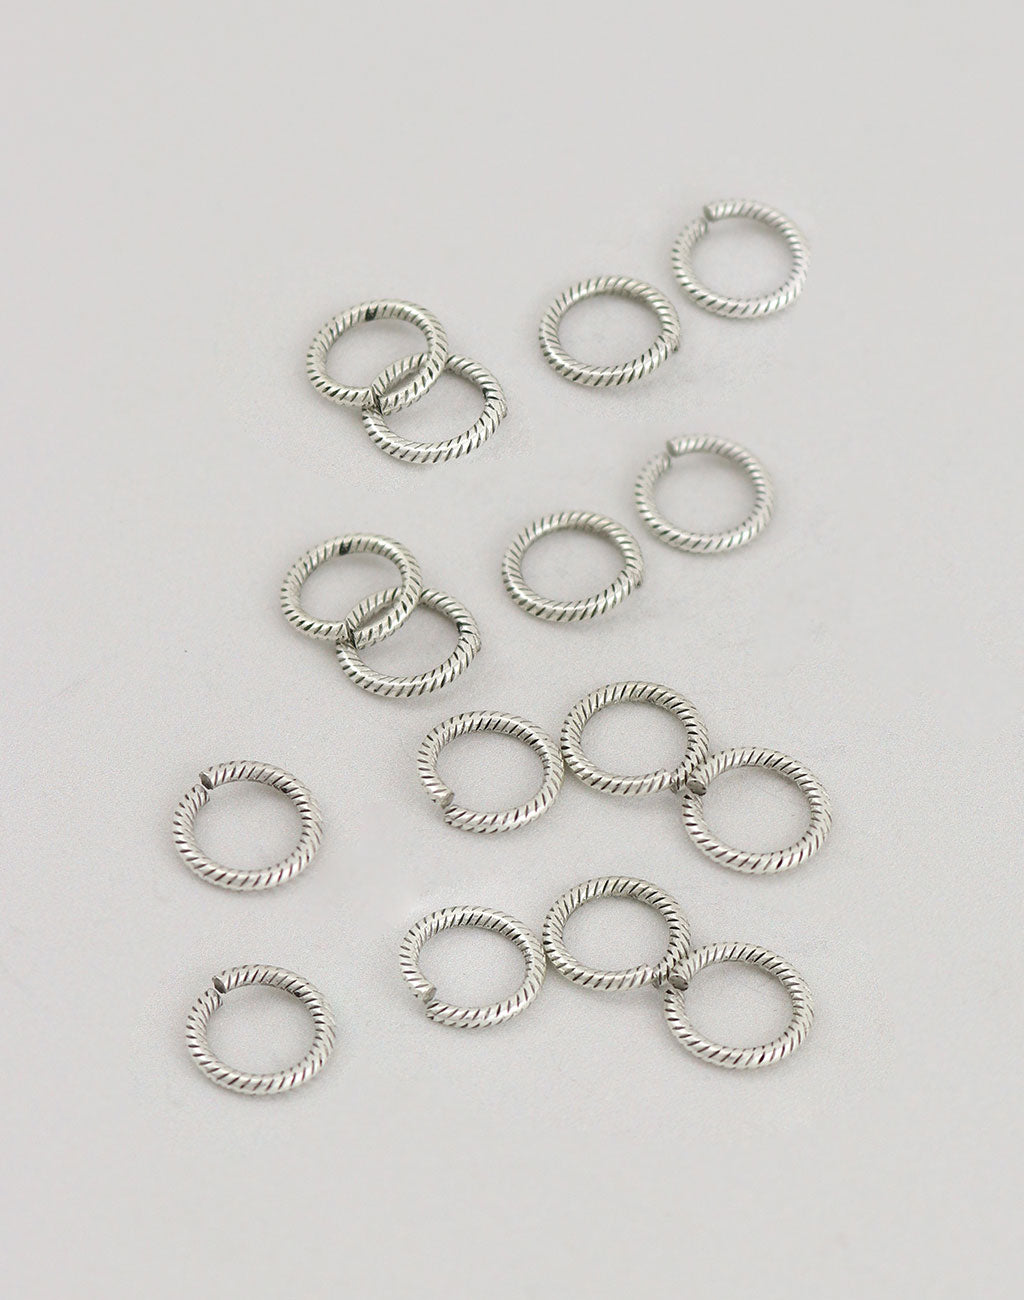


Old is new. Whether repurposing old pieces in your designs or drawing inspiration from an earlier era, incorporating classics into your designs is highly relevant. Leap into inspiration with these 1950s-reminiscent designs or even pull out your own collection to get yourself started. And don't forget... add your personal twist!

 Let your creativity soar among the stars with this cosmic-inspired collection! The Celestial Starfall theme captures the wonder of the night sky with Pegasus coins, radiant starburst charms, glowing sun medallions, and graceful wing sets.


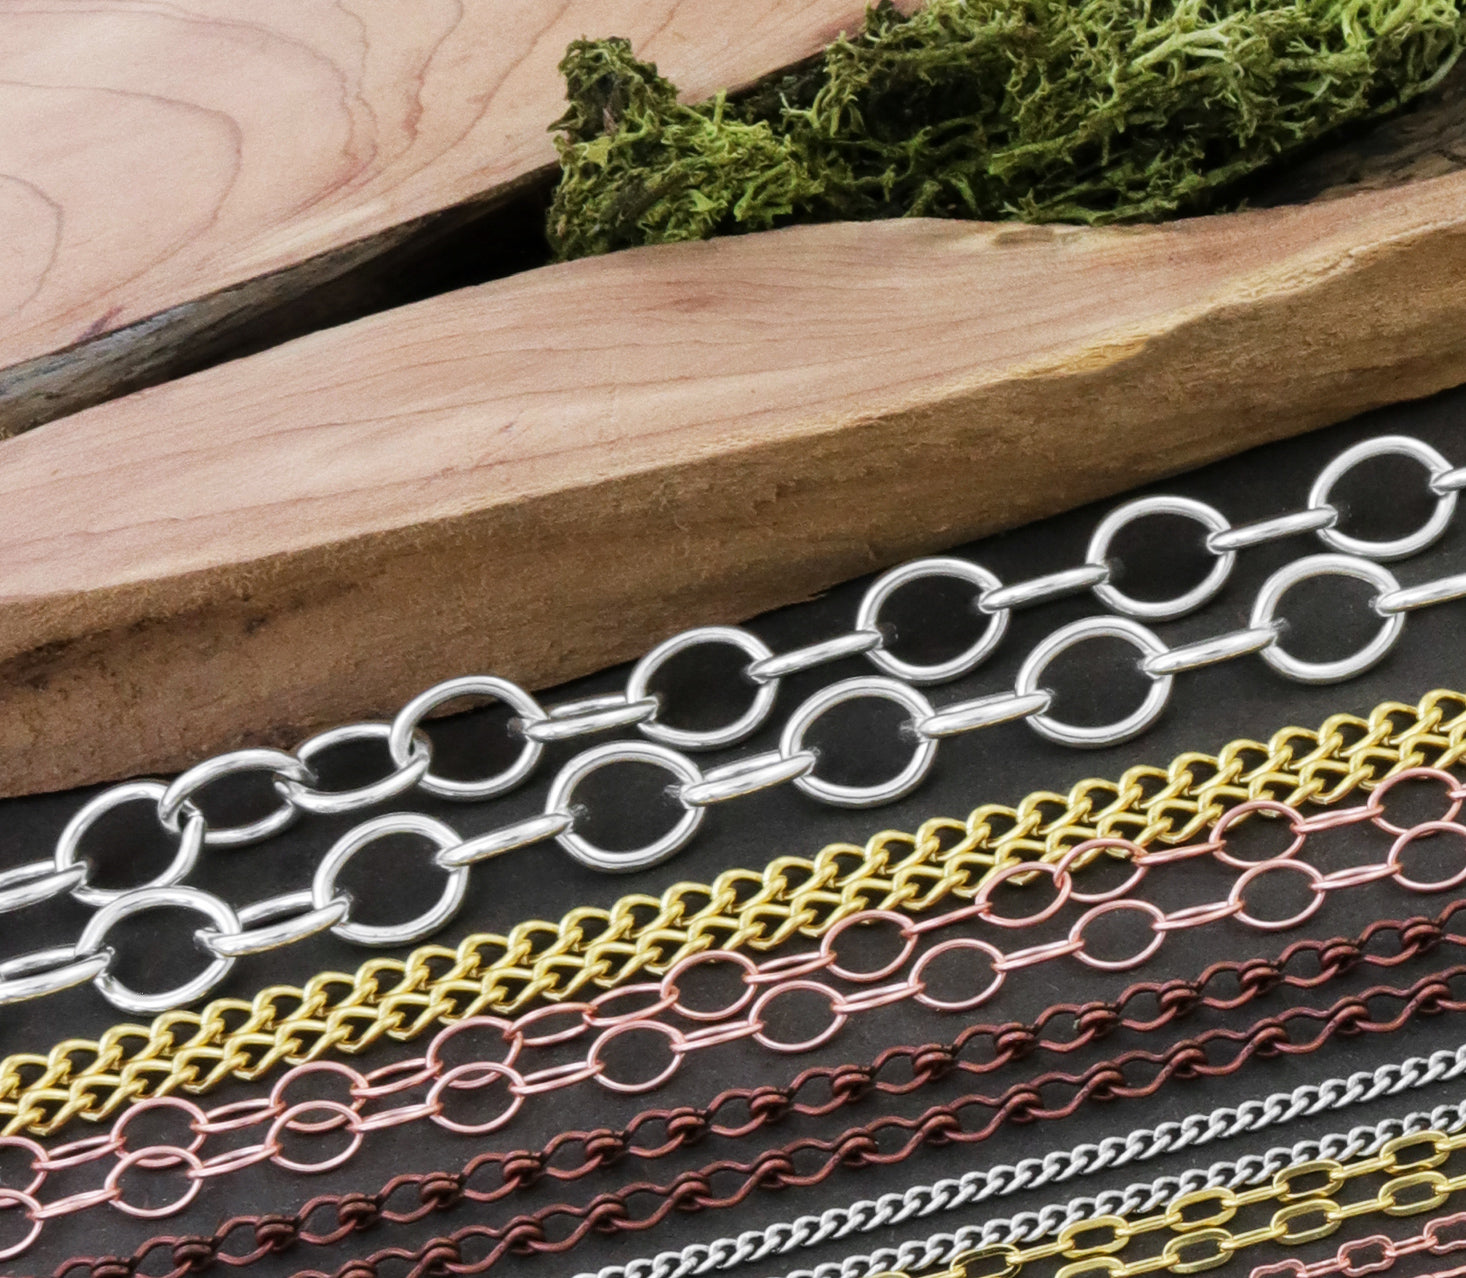
 As summer fades and the air begins to crisp, nature paints the world in brilliant pinks, coppers, oranges, and golds. Our Turning Leaves collection captures that fleeting beauty — the moment when sunlight filters through changing trees and every leaf becomes a tiny masterpiece.